Skip to content

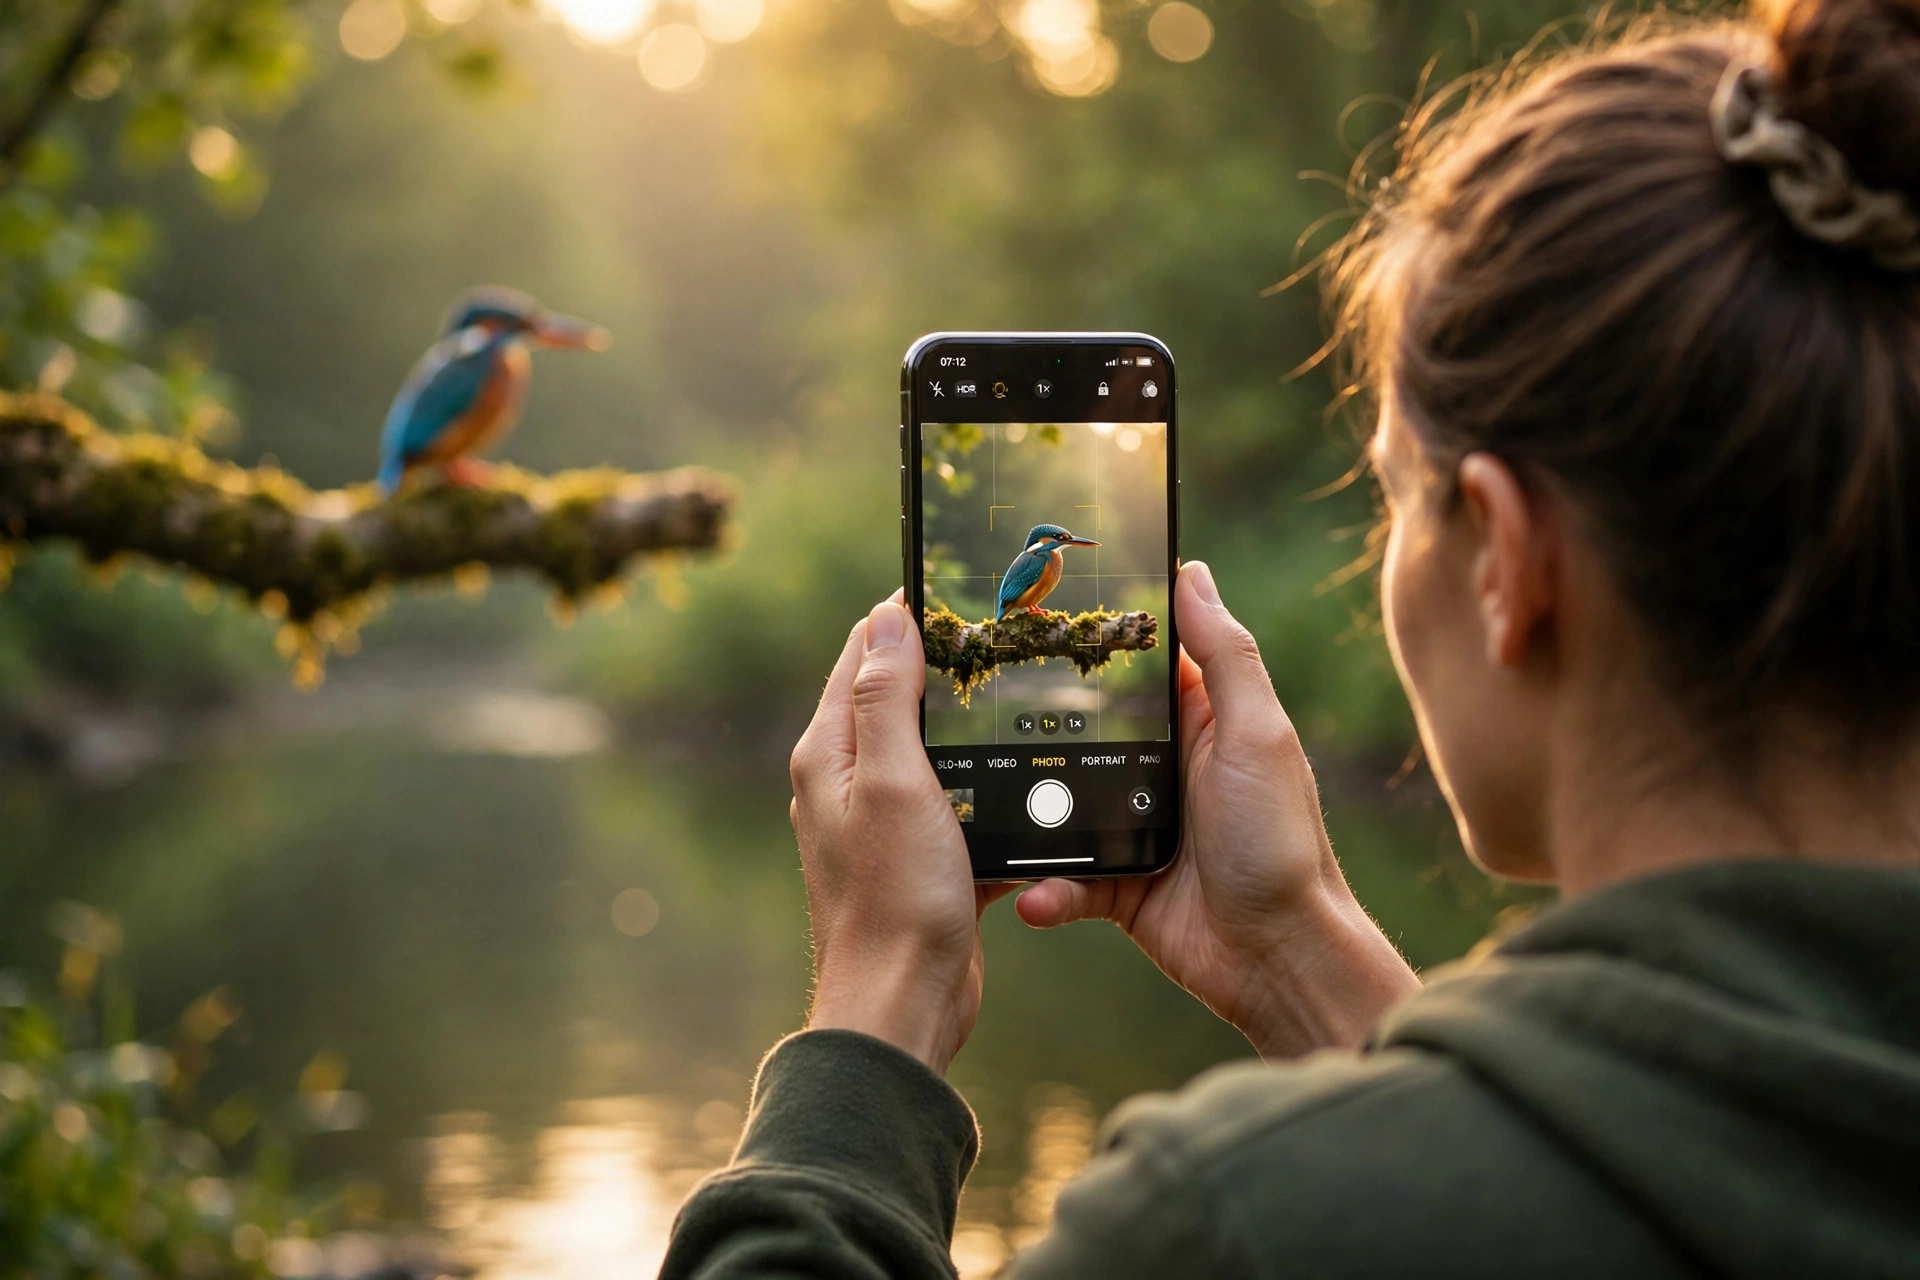
Your next great bird photo is probably sitting in your pocket. Modern phone cameras would have astonished a professional twenty years ago, and for bird photography they are more capable than most people expect. You will not outshoot a 600mm lens aimed at a distant eagle, but for backyard birds and feeder visitors, a phone is genuinely enough.
You do not need expensive gear to start. What you need is technique: knowing how your phone’s camera works, how to approach birds without scaring them, and how to make the most of available light. This guide covers nine field-tested tips for learning how to photograph birds with phone cameras, the settings to change first, and the ethics every bird photographer should follow.
1. Get Closer Without Chasing
Distance is the single biggest upgrade in bird photography, and it costs nothing. A sharp photo of a robin at fifteen feet will beat a blurry, heavily cropped shot of the same bird at fifty feet every time. The skill is closing that gap without the bird noticing you.
Move slowly and predictably. Walk toward the bird at a slight angle rather than straight at it, and pause often. Avoid staring directly at it during your approach, since many birds read direct eye contact as a predator’s focus. If it stops feeding and tenses up, freeze or back up. Patience wins this game.
Use cover and blinds whenever you can. A car makes an excellent blind because birds are used to vehicles. Park, turn off the engine, and shoot through the open window. Fences, trees, and bushes all break up your outline. Some of the tamest photo subjects are birds that have learned people are harmless, which is why park ducks and backyard feeder birds photograph so well.
Or let the birds come to you. Sit quietly near a feeder for twenty minutes and the birds will resume their normal routine around you. Approachable species make the best practice subjects; our guide to how to attract woodpeckers to your yard will help you set up a regular cast of feathered models.
2. Shoot in Burst Mode
Birds move in fractions of a second: a head turn, a wing stretch, a takeoff, all faster than your reflexes can time. Burst mode fires a rapid sequence of frames so you can pick the sharpest one afterward.
On an iPhone, open the camera and swipe the shutter button to the left to start a burst (you can also hold the volume-up button if you enable it in Settings). Keep your finger down as long as the action lasts, then lift to stop. On most Android phones, press and hold the shutter button; the exact gesture varies by brand, so check your camera app once before you need it in the field.
One iPhone quirk worth knowing: burst mode and Live Photos do not work together, so turn Live Photos off before you start bursting. Afterward, open the burst thumbnail in your photo library, tap Select, keep the one or two sharpest frames, and delete the rest. Your storage will thank you.
Use bursts for anything with motion: landings, takeoffs, bathing, feeder squabbles, or simple head turns. This iPhone burst mode workflow walks through the select-and-keep steps if you want a refresher.
3. Tap to Focus, Then Lock the Exposure
Your phone tries to expose the whole scene evenly, which is exactly wrong for bird photography. A small dark bird against a bright sky becomes a black blob unless you tell the phone what matters. The fix: tap the bird on your screen.
That tap does two things. It sets the focus point on the bird, and it tells the metering system to expose for that spot instead of the sky. On an iPhone, a small sun icon appears next to the focus box; slide it down to darken an overexposed background or up to brighten a shadowed bird. On Android, a similar brightness slider usually appears after tapping.
For a perched bird that is not going anywhere, lock it in. On an iPhone, press and hold on the bird until “AE/AF Lock” appears; the focus and exposure now stay fixed even if you recompose slightly. On most Android phones, a long press on the subject locks focus and exposure the same way. Locking before a burst keeps every frame consistent instead of letting the exposure hunt between shots.
Both Apple and Google document these gestures in their camera guides. Practice them on a garden ornament before a live bird tests you.
4. Use Optical Zoom Only, Skip Digital Zoom
This is the tip that separates decent phone bird photos from mushy ones. Optical zoom uses a separate physical lens, and the image stays sharp. Digital zoom just crops into the sensor’s image and stretches it bigger, throwing away detail. It looks fine on a tiny screen and falls apart everywhere else.
Most modern phones have two or three rear lenses. The zoom buttons in your camera app (1x, 2x, 3x, 5x, depending on your model) switch between them, and those marked steps are optical. Anything between the marked steps, like 4.2x on a phone with 3x and 5x lenses, is digital zoom filling the gap. Stay on the marked stops.
Counterintuitively, it is often better to shoot at your longest optical zoom and crop later than to pinch-zoom further in the moment. Cropping in an editor gives you the same framing with more control, and you keep the original as a safety net.
Photographer-tested field notes back this up. In a PetaPixel experiment shooting birds with an iPhone, the photographer found the phone’s dedicated telephoto lens genuinely useful for closer work while digital zoom fell apart, the same verdict you will reach after one afternoon of comparing the two.
5. Shoot in Good Light, Especially Golden Hour
Light matters more than gear. The hour after sunrise and the hour before sunset, photographers call it golden hour, gives you warm, soft, directional light that makes feathers glow. Midday sun gives you harsh shadows, blown highlights, and squinting subjects. Plan around the good light and half your technical problems disappear.
Songbirds feed most actively in the first hours after dawn, so the best light coincides with the most action. An early start is the closest thing bird photography has to a cheat code.
Position yourself with the sun at your back for clean, evenly lit portraits where every feather shows. For something more artistic, try side light: it rakes across the plumage and reveals texture and iridescence that flat front light hides. Backlit shots with a glowing rim of feathers can be stunning, but they are advanced; save them for after you have nailed the basics.
Do not write off overcast days. Clouds act like a giant softbox, giving you shadow-free light that is perfect for subtle plumage colors. You may need to nudge the exposure up slightly, since your phone will try to render the gray sky darker than it looks.
6. Stabilize Every Shot
A phone is light, and light means shaky. At the magnifications bird photography demands, even tiny hand tremors smear feather detail into mush. Stabilizing the phone is the cheapest sharpness upgrade available, and it is free.
Start with your body. Tuck your elbows tight against your ribs to form a human tripod, spread your feet for balance, and exhale slowly as you shoot. Lean against anything solid: a tree trunk, a fence post, a car roof. Sitting down steadies you further and makes you less threatening to birds at the same time.
A small tripod or phone clamp takes this further. Mini tripods that fit in a jacket pocket cost very little and turn waiting at a feeder into a rock-steady stakeout. Pair the tripod with your phone’s self-timer or a voice command (“capture” or “cheese” on many phones) so tapping the screen does not introduce shake at the decisive moment.
For handheld bursts of moving birds, pan smoothly with the bird rather than shooting while static. Follow its movement with your whole upper body and keep bursting. You will keep more sharp frames than by standing rigid and hoping.

7. Clean Your Lens
This tip sounds insulting, and it is the one most people need. Your phone lives in pockets and hands, so its lens collects a film of fingerprint oil and lint. That grime scatters light and puts a soft haze over everything, which explains those mysteriously dreamy photos.
Wipe the lens before every photo session. A microfiber cloth is ideal and costs almost nothing; in a pinch, the inside of a clean cotton shirt works. Give it a quick check whenever you pull the phone out, because a fresh fingerprint lands there within minutes of handling.
Make it a habit, like checking your shoelaces before a run. Photographers who skip this step spend hours wondering why their expensive phone takes worse photos than their friend’s older model. The answer is usually a two-second wipe.
8. Consider a Clip-On Telephoto Lens
If you love phone bird photography and want more reach without buying a camera, a clip-on telephoto lens is the logical next step. These are small optical tubes, typically 18x to 36x magnification, that clip over your phone’s main camera. Popular options like the Apexel 28x or 36x kits also work as handheld monoculars, which is handy for spotting birds before you photograph them.
Set honest expectations. Clip-on lenses add real magnification but cannot match a dedicated camera lens. Expect soft edges, possible vignetting (dark corners), and fussy focus. They work best on still, perched birds in good light, not on birds in flight.
A tripod or solid rest becomes almost mandatory at these magnifications, since every tremor is multiplied along with the bird. One practical note: on an iPhone 13 or newer, or a recent Samsung Galaxy, disable macro mode before clipping the lens on, or the phone may switch to the wrong camera and refuse to focus.
Treat a clip-on lens as a fun, affordable experiment rather than a magic upgrade. Used with realistic expectations and a steady support, it genuinely extends what your phone can do.
9. Edit Lightly, Crop Bravely
Almost every good bird photo you admire has been edited. Editing is not cheating; it is the digital equivalent of choosing the right film and paper. The key word is lightly. Your goal is to reveal what your eyes saw, not to invent a bird that was never there.
Start with the crop. Most phone bird photos improve when you trim empty sky and place the bird off-center, following the rule of thirds. Leave a little space in front of the beak so the bird has room to look into. Straighten any tilted branches or fence lines.
Then adjust exposure and shadows. Lifting shadows slightly can recover feather detail in a backlit bird, and a small warmth boost suits golden-hour shots. Resist maxing out sharpness and saturation; over-processed birds look crunchy, and heavy sharpening creates halos around fine feathers.
Your phone’s built-in editor handles all of this, and free apps like Snapseed or Lightroom Mobile go further. Edit a copy, keep the original, and stay honest: never composite a bird into a scene it never visited.
Camera Settings Quick-Reference Table
Set these once before your first outing. This is the short version of everything above, in the order you will use it.
| Setting | What to do | Why it helps |
|---|---|---|
| Burst mode | Enable; swipe or hold shutter | Freezes wing beats, head turns, and takeoffs |
| Focus and exposure | Tap the bird, then lock AE/AF | Bird stays sharp while bright skies stay under control |
| Zoom | Use marked optical stops only (2x, 3x, 5x) | Digital zoom destroys feather detail |
| HDR | On or Auto | Balances bright sky against darker plumage |
| Gridlines | On | Rule-of-thirds composition and level horizons |
| Live Photos / Motion Photos | Off during bursts | Faster capture, less storage eaten per burst |
| Resolution | Highest available; ProRAW only if you edit | More pixels survive aggressive cropping |
| Night mode | Auto at dawn and dusk | Brighter, steadier shots in dim light |
Set Up a Feeder Studio for Practice Shots
The fastest way to improve is to photograph the same birds repeatedly, and a feeder gives you exactly that. Place it six to ten feet from where you will sit: close enough for your optical zoom to fill the frame, far enough that the birds relax. Morning light is ideal, so sit with the sun behind you if you can.
Add a natural-looking perch near the feeder, a bare branch stuck in the ground or clamped to a railing. Birds almost always land on the perch to survey the feeder before dropping down, and those paused moments on a clean branch make far better portraits than a bird buried in a plastic feeder. Keep the background simple: a plain fence or blurred greenery beats a cluttered patio.
Shoot through an open window rather than glass whenever possible, since even clean glass softens detail. If you must shoot through glass, clean it and press the phone close to cut reflections. Sit still and stay quiet; most feeder birds accept a motionless human within a few days.
A good feeder is the foundation of the whole setup. If you are starting from scratch, our guide to the best bird feeder for cardinals covers feeder styles that attract bold, photogenic regulars, and many of the same feeders draw chickadees, finches, and woodpeckers too.

Ethics First: Never Trade a Bird’s Welfare for a Photo
The most important rule in bird photography is not technical at all. In any conflict between getting the shot and the bird’s well-being, the bird wins. The National Audubon Society’s Guide to Ethical Bird Photography lays out the standard the whole community follows, and it is worth reading in full.
Learn the signs that you are too close. If a bird flushes, freezes, crouches, or gives alarm calls, you have disturbed it: back away slowly. Never chase a bird to make it fly, never use flash on nocturnal birds like owls, and never trim vegetation to clear your view.
Skip the shortcuts that harm birds. Do not use bait or recorded calls to lure birds in, do not fly drones near them, and stay well back from nests; there is no photo worth risking a failed breeding season. If you photograph a rare or sensitive species, strip the location data from the image before sharing it online so crowds do not descend on the spot.
Two free apps make the hobby more rewarding. Merlin Bird ID identifies the bird by photo or sound before you lift the camera, and eBird lets you log the sighting so your hobby contributes to real science. Identify first, photograph second.

Frequently Asked Questions
Can you really get good bird photos with just a phone?
Yes, within realistic limits. Modern phones excel at perched birds, feeder visitors, and approachable species like ducks and park birds, especially in good light. You will struggle with small, distant, or fast-flying birds, where a dedicated telephoto lens still rules.
How close do I need to be to photograph a bird with a phone?
Closer than you think. Even with a 3x or 5x optical zoom, filling the frame with a songbird usually means fifteen to thirty feet. That is why approach technique and feeder setups matter more than any setting: a sharp close photo always beats a distant shot rescued by digital zoom.
Should I use digital zoom on my phone for bird photos?
Avoid it. Digital zoom enlarges the center of the image and discards detail, producing the soft, pixelated look that ruins so many phone bird photos. Shoot at your longest optical zoom stop instead, then crop in an editor where you control the framing.
Which phone camera settings matter most for bird photography?
Burst mode for action, tap-to-focus with exposure lock for backlighting, and optical-zoom stops instead of pinch zooming cover most situations. Turn on gridlines for composition and HDR for high-contrast scenes. The rest is fine on automatic until you outgrow it.
Are clip-on telephoto lenses worth buying for bird photography?
They are a reasonable budget experiment, not a miracle. Lenses in the 20x to 36x range genuinely magnify distant perched birds, but expect soft edges, some vignetting, and a real need for a tripod. If you mostly photograph moving birds, put the money toward a feeder setup instead.
What is the best time of day to photograph birds with a phone?
The first hour or two after sunrise is the sweet spot: soft golden light, active feeding birds, and calm air. The last hour before sunset is the runner-up. Midday brings harsh shadows and sleepy birds, though overcast days stay productive thanks to soft, even light.
Is it okay to use flash when photographing birds?
No. Flash startles birds, can temporarily blind nocturnal species like owls when they need their night vision most, and produces harsh, unnatural-looking photos anyway. If the light is too dim for a clean shot, that is the light telling you to come back at dawn. Audubon’s ethics guidelines are explicit on this point.
Conclusion: Your Phone Is Enough to Start Today
Learning how to photograph birds with phone cameras comes down to a short list: get close without disturbing, burst through the action, tap and lock focus, stay on optical zoom, chase golden-hour light, brace the phone, wipe the lens, edit with a light hand. None of it needs new gear, and all of it works this afternoon.
Start where the birds are easiest. Set up a feeder, add a natural perch, sit still with your morning coffee, and practice on the regulars until approaching, focusing, and bursting feel automatic. Then take those skills to the park, the shoreline, and the trail.
And when you are ready for a real challenge, try birds in flight. A swirling starling murmuration at dusk will test every tip in this guide at once, and the phone in your pocket is all you need to try.