Skip to content

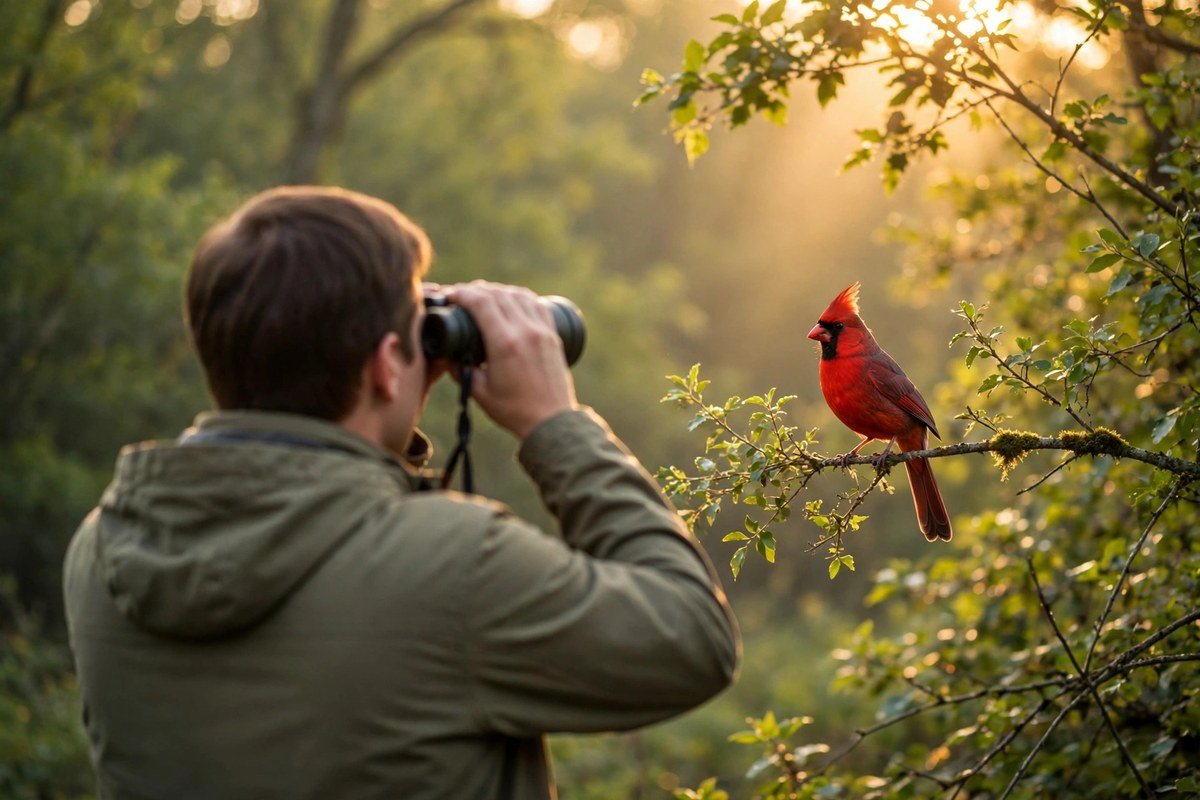
Bird watching for beginners is simpler than it looks. You do not need expensive equipment, years of study, or a trip to a famous national park. If you can look out a window and pay attention, you can start today.
The hobby has a low barrier and a deep ceiling. A decent pair of binoculars and a free app will carry you through your first year, while the birds themselves do most of the work by showing up in backyards, parks, and sidewalks across the country. New tools keep lowering the learning curve, so identification is easier now than at any point in the hobby’s history.
This guide covers the gear that actually matters, how to use it, the five clues for identifying birds, where to take your first walks, basic etiquette, and how to track your sightings. By the end, you will have a clear first-week plan and the confidence to head outside.

Why Bird Watching Is Worth Starting
Bird watching asks very little of you and gives back a lot. It gets you outside on a regular schedule, sharpens your attention, and turns an ordinary walk into a small discovery. People stick with the hobby because every outing offers a surprise, even in places they thought they knew well.
It is also one of the most accessible hobbies around. You can practice it from a kitchen window, on a lunch break, or during a weekend trip. Most US backyards host a dozen or more species over the course of a year, and local parks multiply that number quickly. Mass Audubon’s beginner birding primer notes that early mornings and dusk bring the most activity, which fits neatly around a workday.
There is a social side too. Bird walks, local Audubon chapters, and online communities welcome newcomers, and experienced birders enjoy sharing what they know. Many beginners start alone and end up with a circle of friends who text each other about sightings. If you want structured lessons, the Cornell Lab’s Bird Academy offers self-paced beginner courses.
The Only Gear You Actually Need
Beginners often overthink gear. Here is the honest short list: binoculars, a way to identify birds, and a way to record what you see. Everything else is optional until you decide you love the hobby.
Binoculars: start with 8×42
The two numbers on binoculars describe magnification and lens size. In 8×42, the 8 means the bird appears eight times closer, and the 42 means each front lens measures 42 millimeters across. Bigger front lenses gather more light, which matters at dawn and in shade.
8×42 is the most widely recommended all-around spec for beginners. At 8x, the image stays steady in shaky hands and the field of view stays wide enough to find a moving bird. At 10x, you get more detail but a narrower, shakier view that frustrates newcomers. A 42mm objective lens balances brightness with a weight you can carry comfortably.
You do not need to spend a fortune. Solid entry-level 8×42 binoculars from established optics brands perform well for backyard and park birding. Look for waterproof and fogproof construction, since weather changes fast outdoors. If you want help weighing the two most common magnifications, our 8x vs 10x binocular comparison walks through the trade-offs in detail.
Field guide or app: why not both
A field guide teaches you to identify birds; an app does the heavy lifting while you learn. Printed guides like Sibley or National Geographic remain excellent references with detailed illustrations and range maps. But your phone may be the faster teacher.
The free Merlin Bird ID app from the Cornell Lab of Ornithology identifies birds three ways: Sound ID listens and names birds in real time, Photo ID identifies birds from a picture, and a step-by-step wizard narrows possibilities from size, color, and behavior. Because it is free with no ads, it has become the standard first app for new birders.
Newer AI-powered bird identification tools build on the same idea, and they keep improving. Treat every app result as a strong suggestion, not a verdict, and confirm with a field guide when a bird looks unusual for your area. Our AI bird identification guide covers the newest options.
A notebook: your first life list
Write down what you see. A simple notebook works, and many birders keep one for years. Record the date, location, species, and anything memorable about the sighting. These notes become surprisingly valuable as your skills grow, and they make your first year feel like a real journey instead of a blur.
How to Use Binoculars
Most beginners fight their binoculars for the first week, then wonder what the fuss was about. Follow these steps and the view will click into place quickly.
- Adjust the width: Hold the binoculars and fold the two barrels until the two circles merge into one. This sets the interpupillary distance for your eyes.
- Set the diopter: Close your right eye and focus the center wheel on a distant sign with your left eye. Then close your left eye and turn the small diopter ring (usually on the right eyepiece) until the same sign is sharp. Your binoculars are now calibrated to your vision.
- Spot first, then lift: Find the bird with your naked eyes and keep your eyes locked on it. Without looking down, raise the binoculars to your eyes. Looking down breaks your visual lock and sends you searching through empty sky.
- Focus smoothly: Turn the center wheel gently. Beginners tend to overshoot, spinning back and forth. Slow, small turns land on sharp faster.
- Track with your body: For a moving bird, pivot at your hips and keep the binoculars glued to your face. Moving only your hands loses the bird.
Practice on something easy first. Focus on a street sign, then a perched bird, then a bird hopping through branches. Each level builds the muscle memory that makes the next one possible.
Learning to Identify Birds: The Five Clues
Identification feels impossible until you learn the system. Experienced birders rarely study one feature; they gather five clues at once and let the combination point to a species. Learn the clues in order and your accuracy will jump within weeks.
1. Size and shape
Start by comparing the bird to familiar species. Is it sparrow-sized, robin-sized, or crow-sized? Then note the silhouette: long tail or short tail, thick conical beak or thin pointed beak, chunky body or slim build. Shape survives poor light when color fails, which makes it the most reliable first clue.
2. Color pattern
Ask where each color sits, not just which colors appear. A red breast means little by itself; a red breast with a dark head and white belly spots narrows the field dramatically. Look for field marks: wing bars, eye rings, breast streaking, tail patterns, and caps. One or two strong field marks often settle an ID.

3. Behavior
What the bird does can be as telling as how it looks. Woodpeckers hitch up trunks, nuthatches climb down them headfirst, and flycatchers dart out to snatch insects midair. Feeding style, flight pattern, and even how a bird holds its tail all count as evidence.
4. Habitat
Place eliminates possibilities. A wading bird in a marsh and a woodpecker in a forest rarely overlap, and many species stick to specific environments. When you open a field guide, check the habitat notes first to cut your candidate list in half.
5. Sound
Many birds are heard more than seen, especially in dense foliage. Learning songs and calls opens up a whole layer of the hobby. Merlin’s Sound ID feature identifies birds by sound in real time, which makes learning calls dramatically faster than it used to be. Listen, check the app’s suggestion, then listen again to connect the sound with the name.
Put the clues together on common backyard species first. Robins, cardinals, chickadees, and jays appear everywhere, look distinct, and tolerate beginners. Mastering ten common birds teaches you the method you will use for the next hundred.
Bird Watching for Beginners: Where to Go First
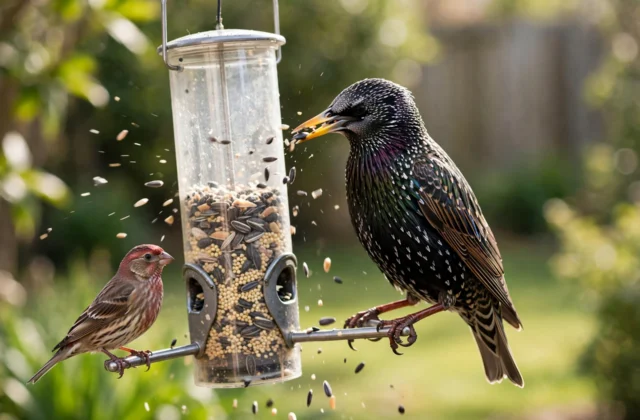
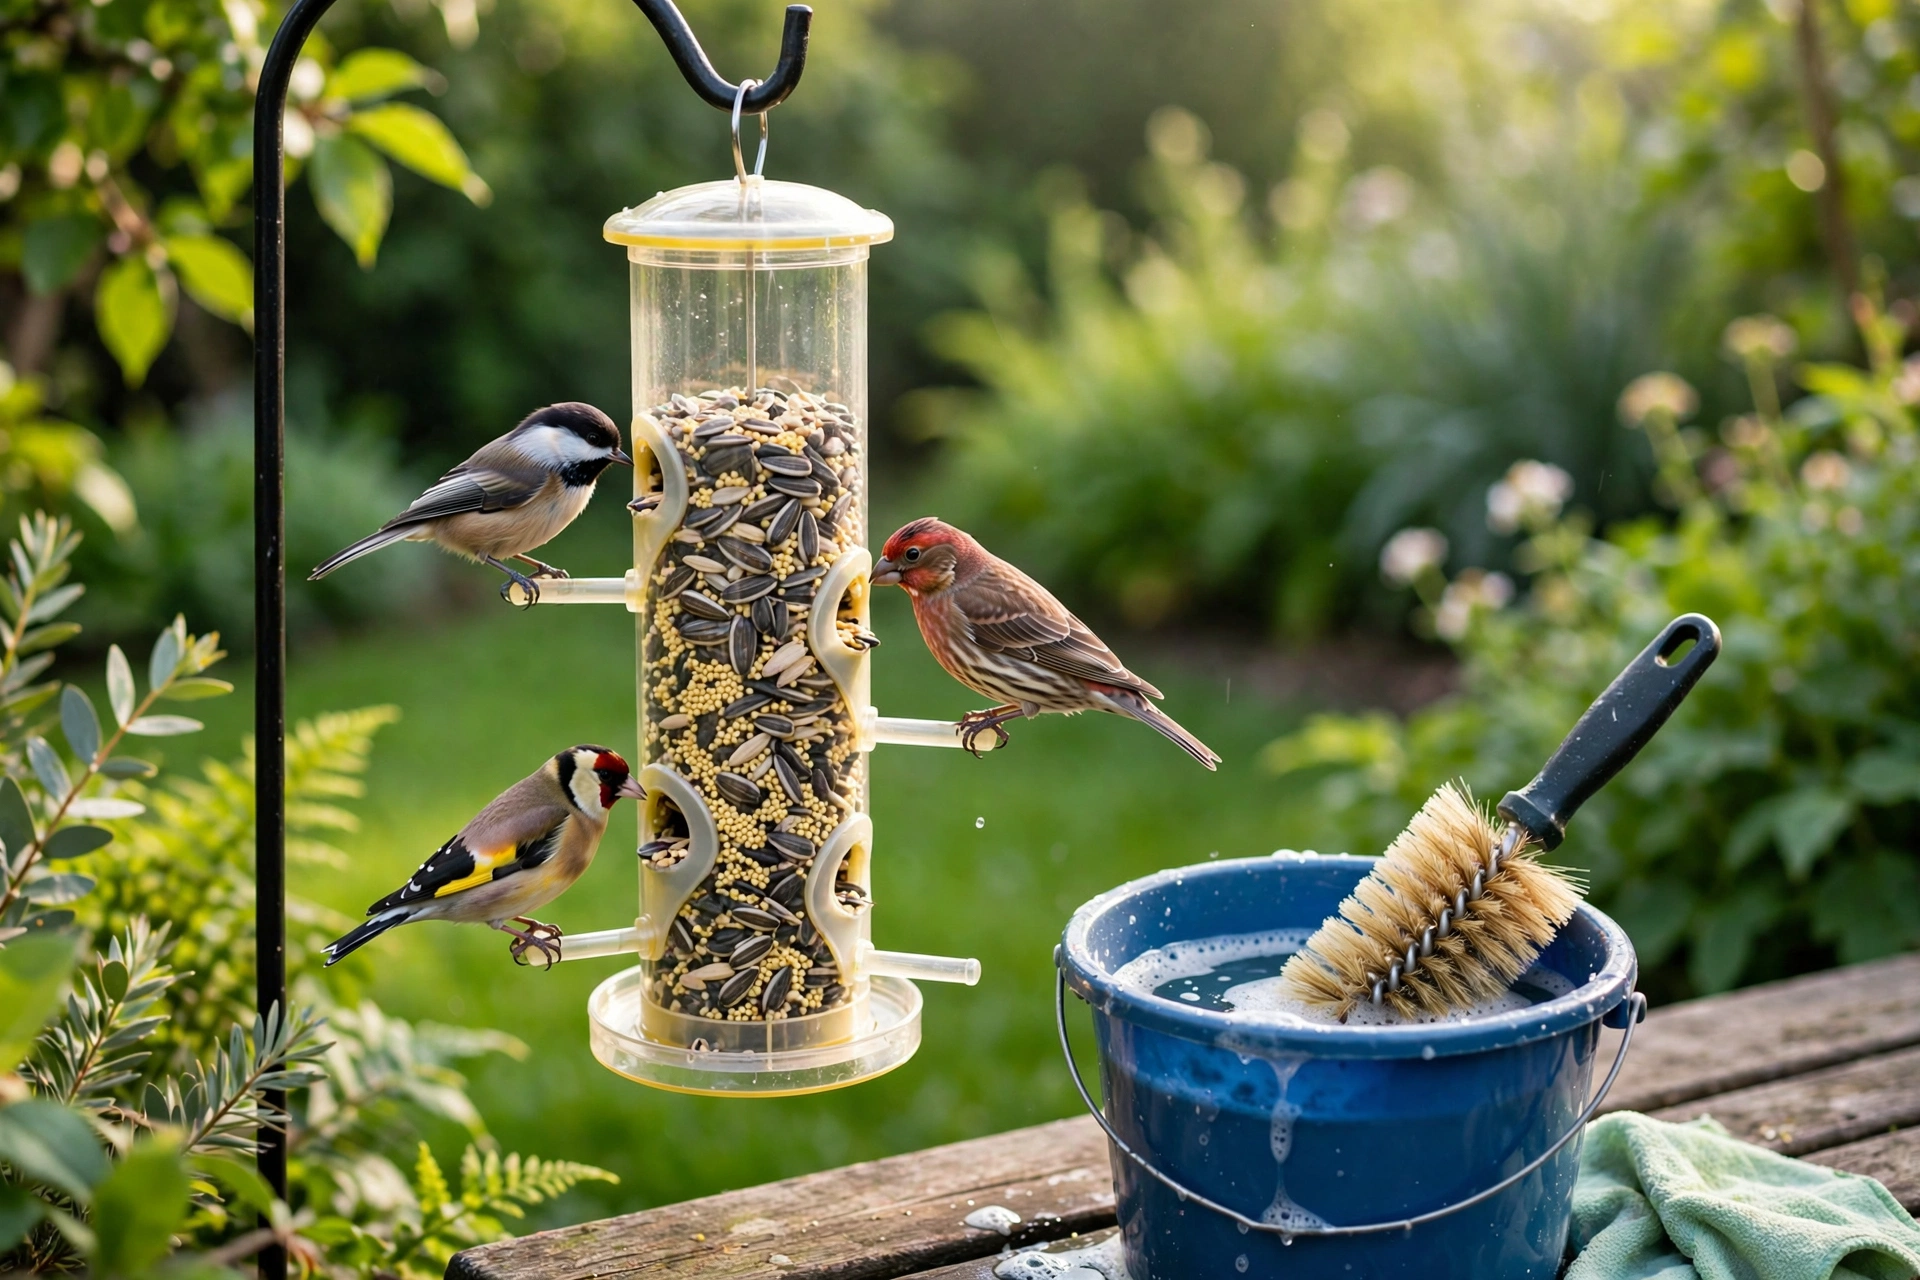
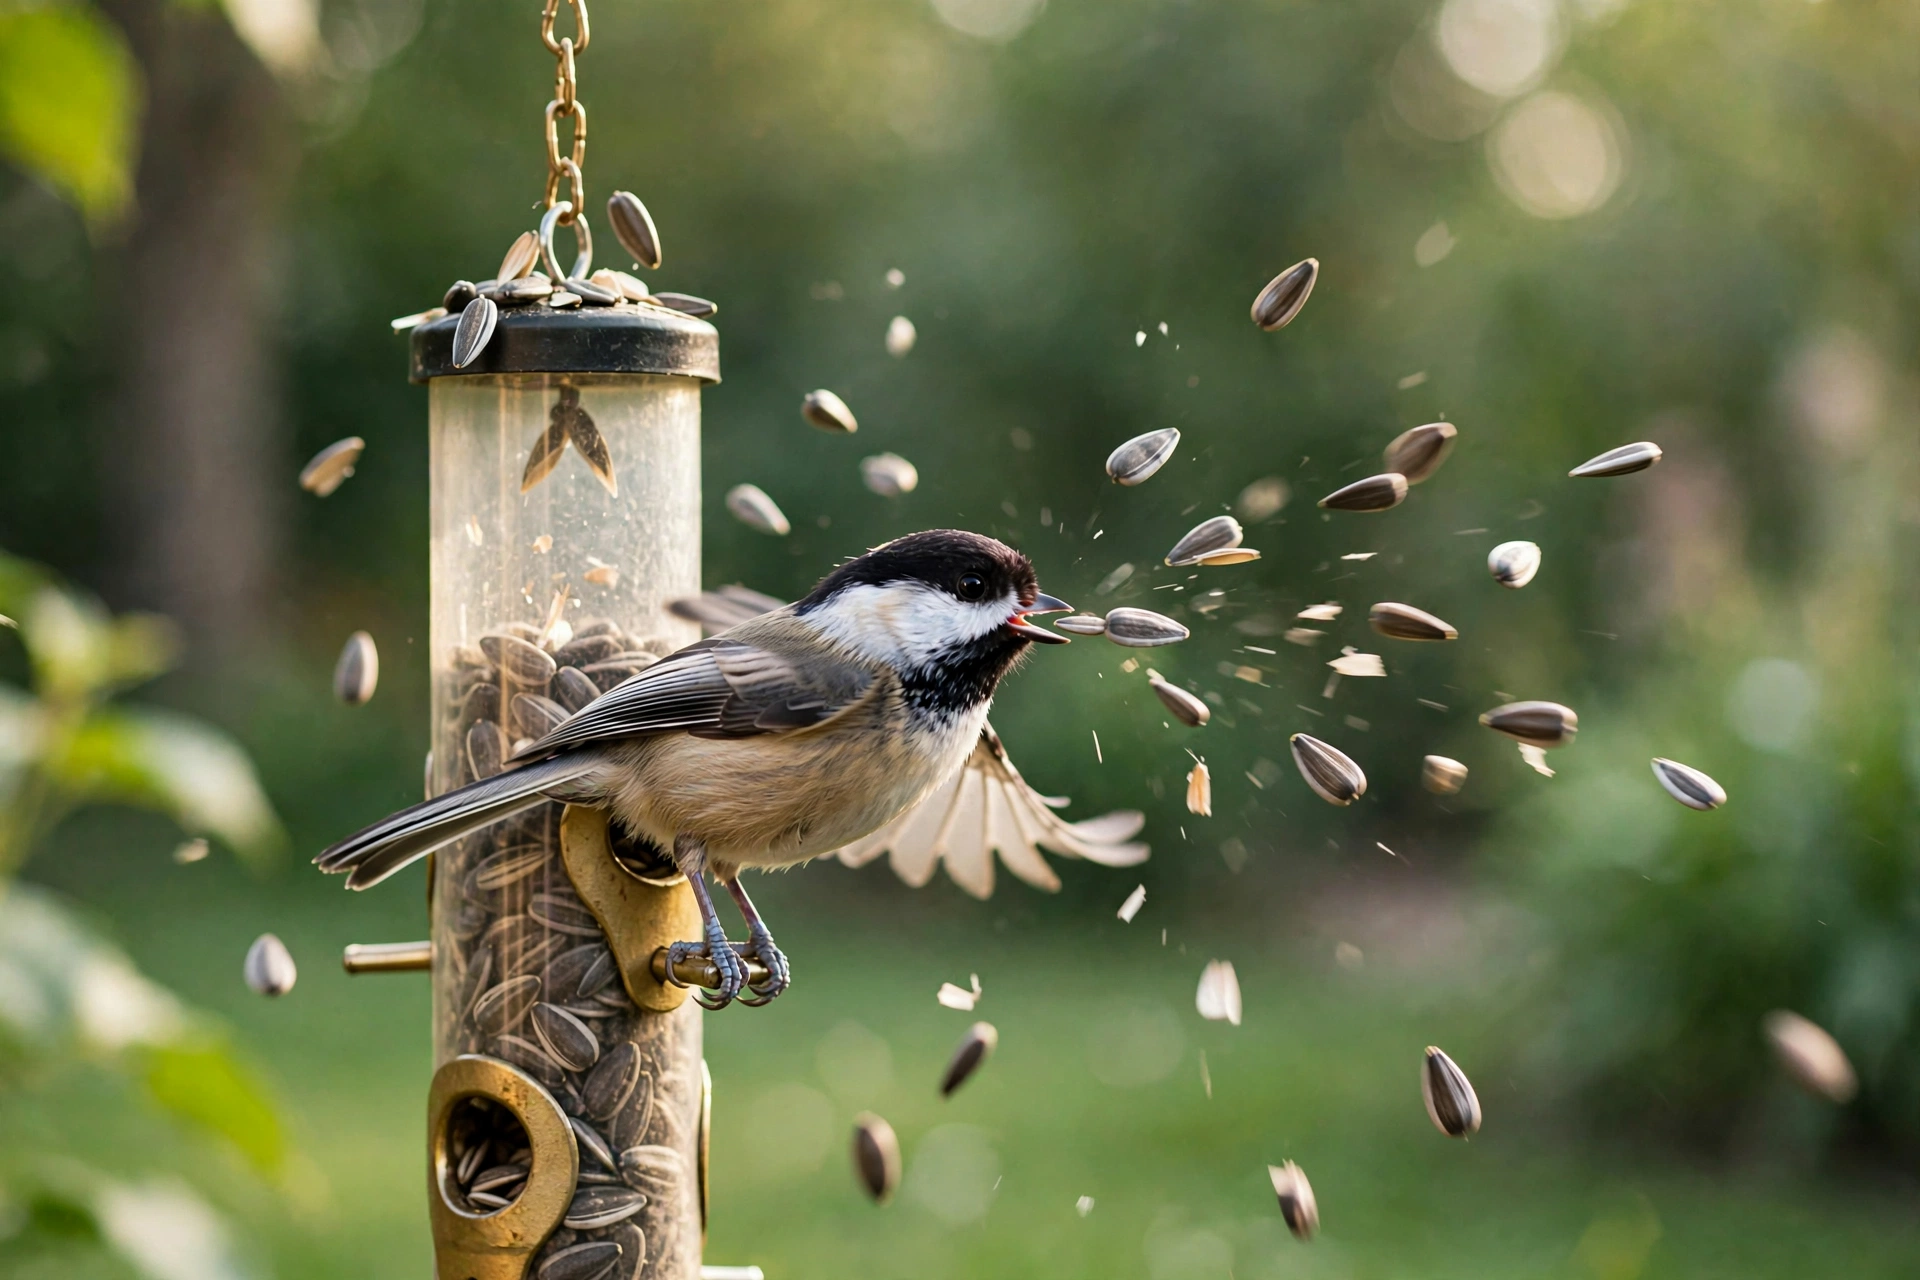
Start where the birds come to you. Your backyard or balcony is the perfect classroom because you can watch the same birds repeatedly until you know them. Hang a feeder and put a simple birdbath nearby, and regular visitors will arrive within days. If few birds show up, our guide to why birds may be avoiding your feeder covers the most common fixes.
Next, try your local park. Even small urban parks attract migrants in spring and fall plus year-round residents. Walk slowly, stop often, and scan tree edges, water, and open lawns. Early morning brings the most activity, since birds feed actively after the night. Our guide to the best time of day to see birds breaks down the daily rhythm in more detail.
When you are ready to expand, look for local birding hotspots. Nature centers, wildlife refuges, and reservoirs concentrate birds and other birders. eBird’s hotspot explorer shows which species other people have reported at nearby locations, which takes the guesswork out of choosing a destination. Join a guided bird walk if one is offered near you; watching an experienced birder work through an ID teaches more in two hours than a month of solo trial and error.
Birding Ethics and Etiquette
Birds come first, always. The hobby only works if watchers protect the wildlife they enjoy. These rules keep you welcome on trails and keep birds safe.
- Keep your distance: If a bird changes its behavior because of you, you are too close. Back off, especially around nests and feeding young.
- Stay on trails: Trampling vegetation destroys the habitat you came to enjoy. Shortcuts through meadows and wetlands do real damage.
- Limit playback: Playing recorded calls to lure birds stresses them and can pull them away from nests. If you use playback at all, keep it brief and never near nesting birds.
- Share the space: On group walks, keep voices low and avoid sudden movements. Let others see the bird before you describe it in detail.
- Leave no trace: Pack out everything you bring in, including food scraps that can harm wildlife.
- Respect private land: Never enter posted property to chase a sighting. Ask permission first.
Keeping a Life List
A life list is simply a record of every species you have identified. It starts as a curiosity and becomes one of the most motivating parts of the hobby. Watching the count grow gives every outing a small thrill, and looking back at your first entries reminds you how far your skills have come.
eBird, run by the Cornell Lab of Ornithology, is the standard platform for tracking sightings. A free account stores your checklists, builds your life list automatically, and contributes your observations to one of the world’s largest biodiversity databases. Scientists use eBird data to track migration, monitor populations, and guide conservation, so your backyard sightings genuinely count. Audubon’s beginner guide to using eBird walks through creating an account and submitting your first checklist.
Start simple: one checklist per outing, with the birds you confidently identified. Over time you can add counts, notes, and photos. The goal is a habit, not a competition.

Frequently Asked Questions
What is the difference between birding and bird watching?
There is no real difference. “Birding” and “bird watching” describe the same activity, and most people use the terms interchangeably. Some say birding sounds more active and bird watching sounds more casual, but no authority enforces a distinction. Use whichever term you like.
Do I need expensive binoculars to start?
No. A reliable entry-level pair of 8×42 binoculars is enough for your first year and beyond. Expensive optics show their advantage in difficult light and at long distances, but beginners learn the same identification skills with modest gear. Spend on binoculars only after you know the hobby is for you.
What is the best time of day to watch birds?
The first few hours after sunrise are the most active, when birds feed and sing after the night. Late afternoon brings a smaller second peak. Midday is the quietest period, especially in summer heat. That said, some species, like owls and nightjars, are only active after dark, so “best” depends on what you want to see.
Can I bird watch without binoculars?
Yes. Your eyes alone are enough to start learning common species, behavior, and songs. Binoculars make identification much easier at a distance and let you see feather detail you would otherwise miss, so most beginners add a pair within the first few weeks. But nothing stops you from starting today with no equipment at all.
What app should beginners use for bird identification?
The free Merlin Bird ID app from the Cornell Lab of Ornithology is the standard recommendation. It identifies birds by sound, photo, or a short series of questions, works offline once you download the regional bird pack, and carries no ads or subscription fees. Pair it with eBird, also from the Cornell Lab, to log your sightings.
How do I start a life list?
Create a free eBird account and submit one checklist per outing with the species you confidently identified. eBird builds your life list automatically and tracks it by year, location, and region. If you prefer paper, a notebook with dates, locations, and species works just as well to start.
Conclusion
Bird watching for beginners comes down to three moves: get outside regularly, learn the five identification clues, and write down what you see. A pair of 8×42 binoculars, the free Merlin app, and a notebook are genuinely enough to launch the hobby this weekend.
Start in your backyard, then widen the circle to parks and hotspots as your confidence grows. Keep your distance, respect the birds, and let eBird turn your sightings into something bigger than a list. The birds are already there; all that is missing is someone paying attention.